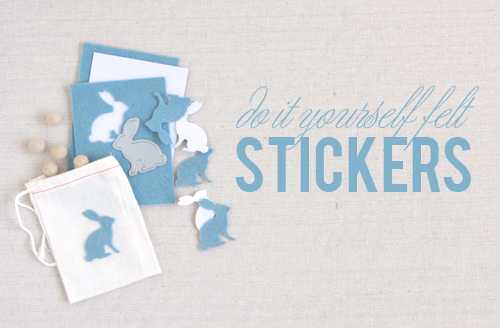
1. You'll need Benzie's felt (we use Calico here), adhesive sheets and a die. We use the Easter die from Lifestyle Crafts -love the silhouette of the bunny! (Don't forget to use BENZIE to get 20% off your We R Memory Keepers order!) Cut your felt and adhesive to the same size -peel the back off the the adhesive and stick to the felt.
A note about dies: some dies come with white ejection foam in the die (like our bunny did); this ejection foam helps paper to pop out easily after being cut -but because felt is so much thicker than paper -it best if you pull that foam out first. You'll have much better success cutting this way.
2. Roll this through the die cutter with die cut side down on the felt. For best cut I used the Evolution die cut machine with Sizzix cutting pads. You can also use the Genius cutting pads -but I found I had to roll it through a few extra times to get a clean cut because of the thickness of the adhesive paper adds to the felt. And there you have your sticker!
3. Stick it to anything -I love how easy the backing comes off and even sticks well to the cotton bag of rabbit tails!
I used my rabbit stickers to adorn a tea bag holder -perfect for a spring or Easter brunch.
I used the Matchbook die from We R Memory Keepers to make the tea bag holder. Sticky Thumb adhesive was the perfect fit to adhere the tea bag to the matchbook -just sticky enough to hold but removable enough to actually use! For a finishing touch I added Benzie's Pom Poms in Natural at the tag for the tea bag.
Happy Easter friends!


No comments:
Post a Comment
Thanks for your comments!
Note: Only a member of this blog may post a comment.