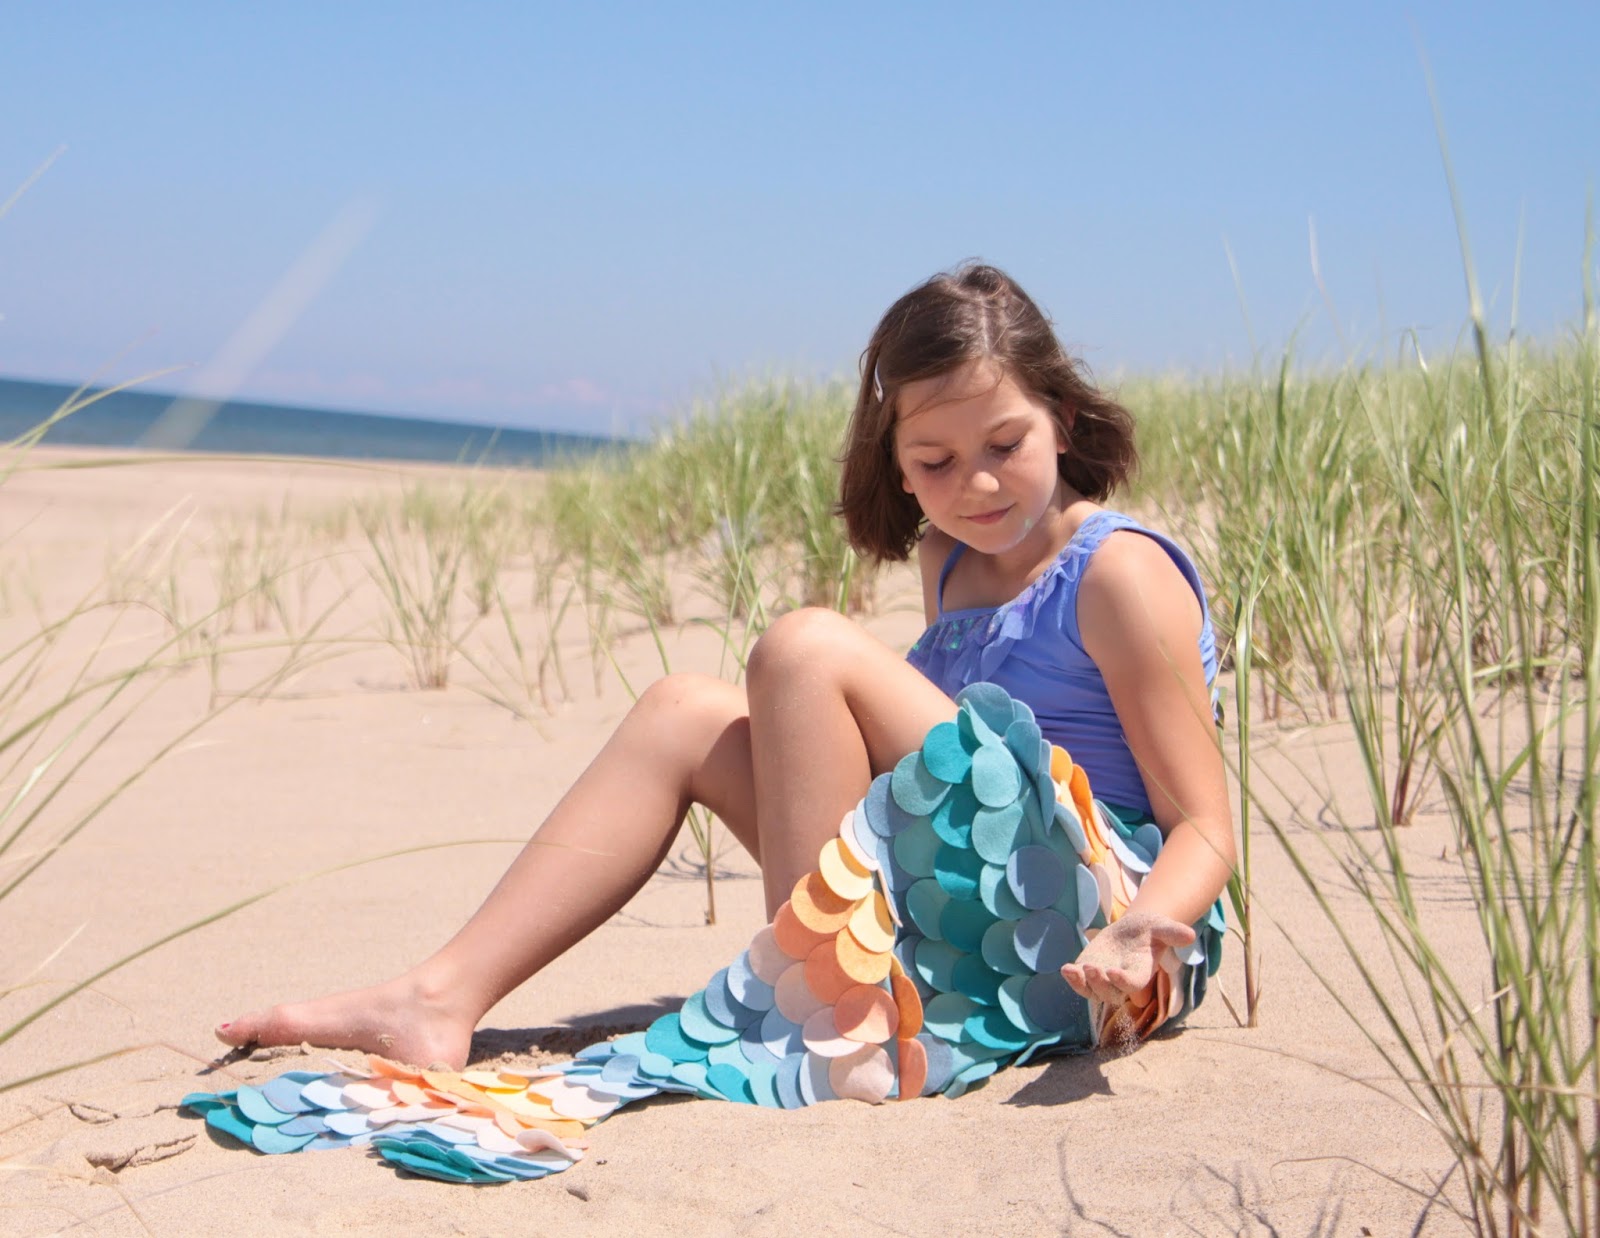
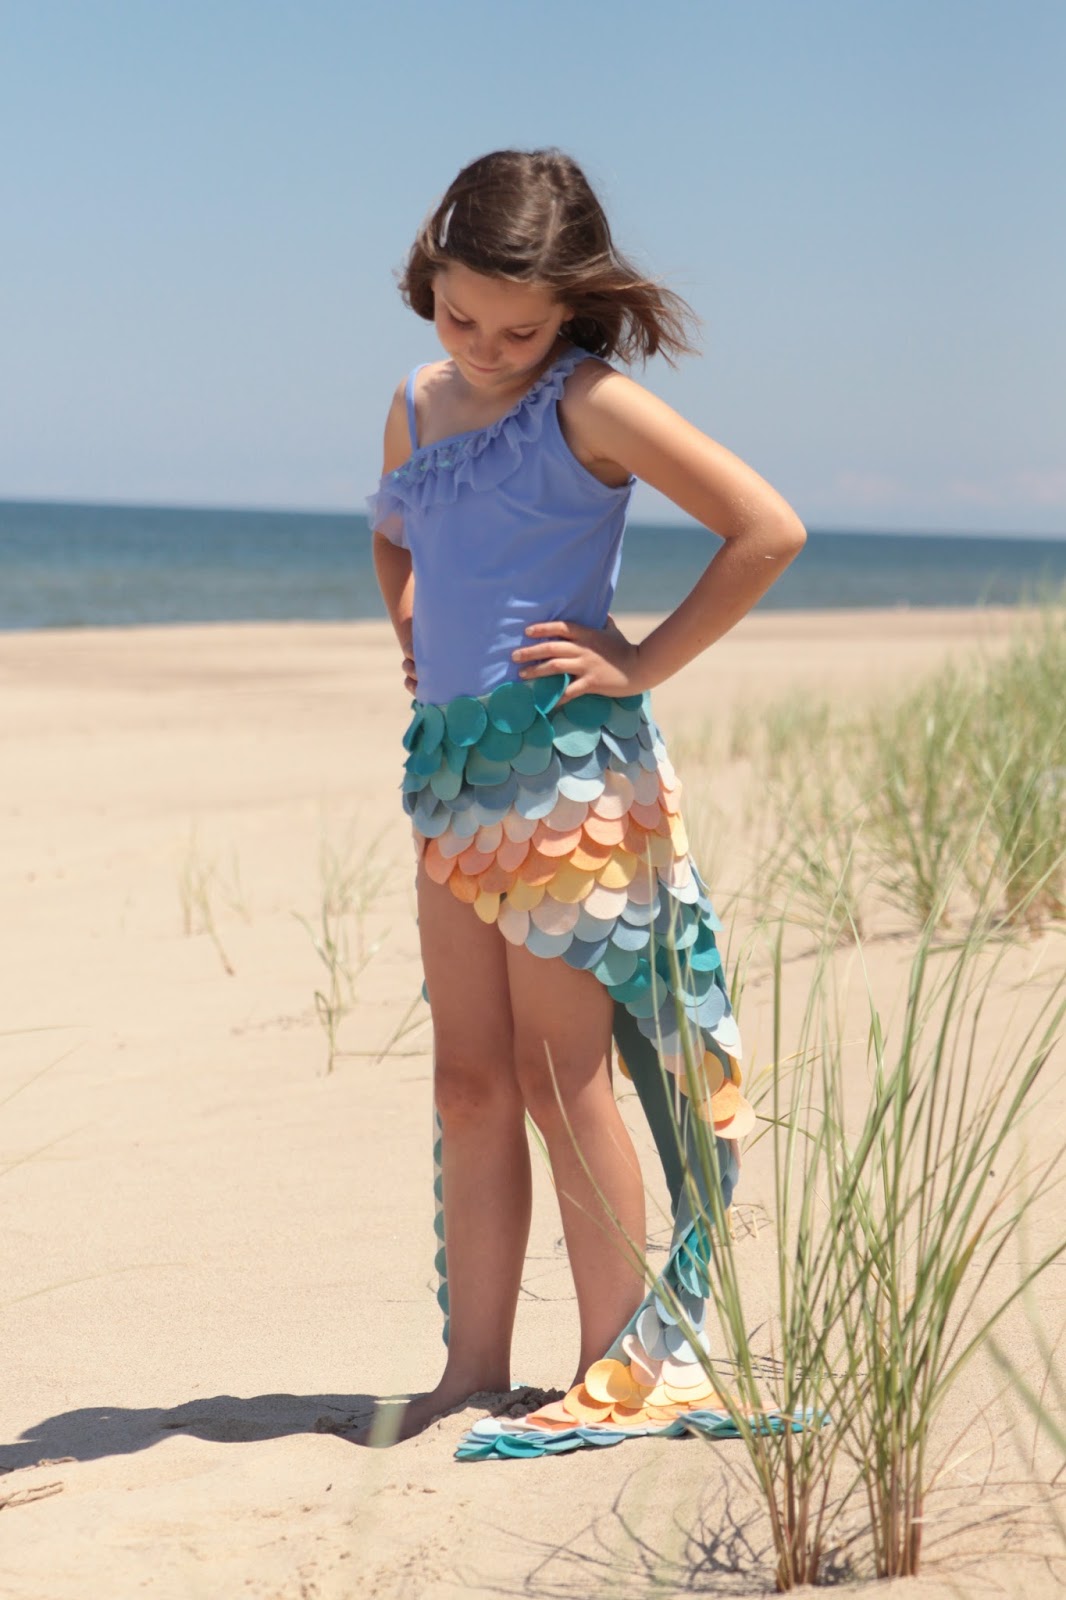
I just got my daughter a shirt that read "I'm a mermaid at heart" -and it true -all she ever has wanted to be is a mermaid. And she insists she will grow up to be one. I'm not sure we can promise that -but I can indulge her imagination and creative spirit and create a mermaid's greatest accessory -her tail!
The tail is composed of circles -or scales attached to the base. It comes together very quickly once all the circles are cut! Our tail and measurements are based on a tall 7 year old -you can adjust the measurements to the height of your little mermaid.
Materials used:
-1 1/2 yards of a basic cotton fabric (we wanted to keep the tail light weight) but if you want to go no-sew we suggest using 1 1/2 yards of felt.
-10 12x18" sheets of Benzie Felt. We used our Mermaid Lagoon collection.
-Sewing machine
-Approximately 275 2" circles (we used the Nesting Circle die from We R Memory Keepers)
-2 yards of twill tape or ribbon
-fabric glue
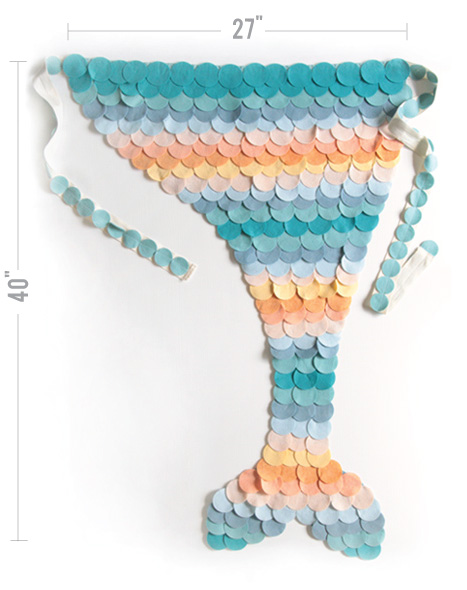
First you will need to make the base of the tail. Take your fabric and lightly freehand a pattern similar to the one you see above. The waist is about 27" wide and the length is 40" long. You will notice that the tail is asymmetrical -I wanted it to wrap around the waist and tie at the side to give the illusion of a more full bodied tail. If you are using felt -you are done -just cut out the shape! For cotton -we cut out two pieces, sewed both sides together and flipped inside out to hide the raw edges. Iron flat.After you have the base of the tail you will need to sew ribbons on for ties. You can do this with a sewing machine or by hand. We suggest sewing as opposed to glue to make it a strong hold.

Now for all those circles! We have several different options to cut out these circles -from using a scissors, purchasing precut circles from Benzie or using a die cut method. We are going to focus on the Nesting Circles die from We R Memory Keepers -there are several different sized circles in this kit -but we used the 2" size. Here is an explanation of how we use the Evolution manual die cutter. To cut out the circles a bit quicker, we used two 2" dies at the same time. I love how the die cut makes them a perfect circle each and every time. And it's a great way to get your child involved in making their very own costume!
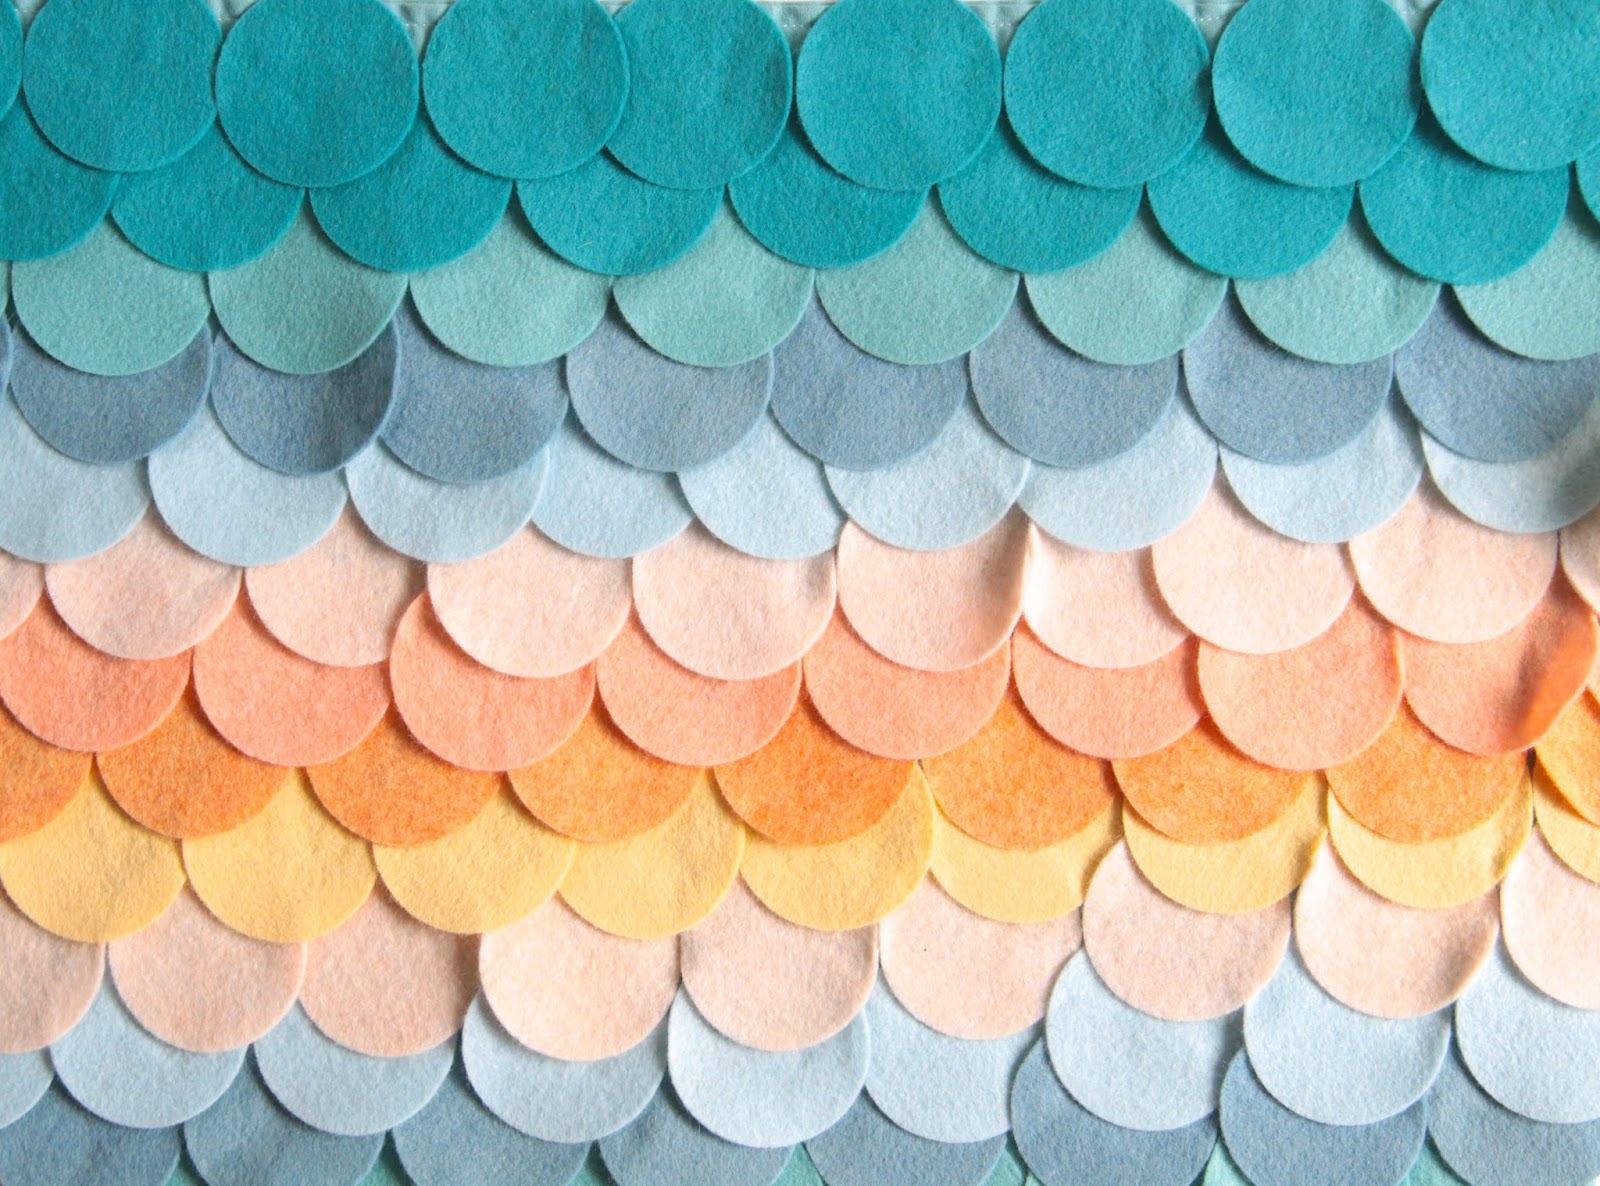
After you have cut out your circles attach them to your tail base. You can sew these on -but I love having easy projects that I can do around the rest of the family -so we used fabric glue. Start on the bottom of the tail and attach circles by placing a bit of glue (it doesn't take much) along the top 1/4" of the circle. Go row by row, attaching circles about half way up from the previous row. As you can see with the above photo we spaced somewhat randomly as we accommodated the widening tail.


