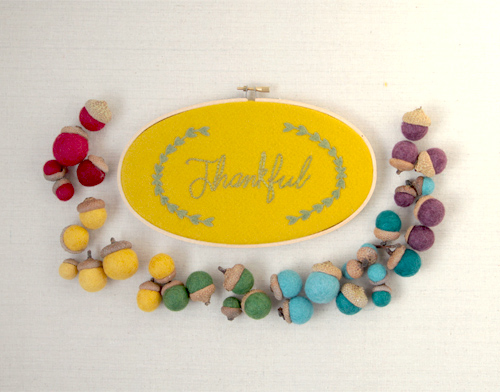
I love how we have a whole holiday centered around being thankful -even though gratitude should not just be expressed one month out of the year. This embroidery hoop -though fall in colors is a good reminder of where our hearts need to be rooted all year. You'll also love this diy -it's full of tips that will really help a beginner embroider -in fact I've made several more since I learned the secret to transferring patterns to felt! You'll also learn how to add the laurel leaf applique -it's all about the finishing touches, right?!

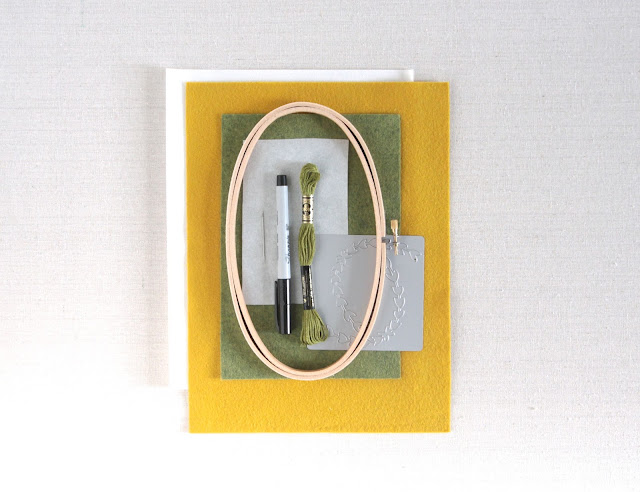
Items you'll need:
-- Wool Blend felt by Benzie, we used the colors Mustard and Zucchini.
-- Large Oval Embroidery hoop
-- Embroidery floss, we used Zucchini
-- Wreath Frame Die Cut by WRMK
-- Fusible adhesive, our favorite is Wonder Under
-- Fabric stabilizer, we used Sticky Fabri-Solvy
-- Pen or Marker
-- Embroidery Needle
-- Iron (not shown)
-- Iron (not shown)
We tried a brand new product this month called Sticky Fabri-Solvy -and it couldn't be more perfect for transferring patterns onto felt! It's 'sticky' meaning that after you trace (printable sheets are available too!) peel off the back like a giant sticker and press onto your felt. SO easy and quick! But there was one caveat holding me back -the stabilizer has to be soaked and rinsed off! It made me super uncomfortable getting my project wet -and I didn't like the idea of having to wait for the embroidery to dry. But the alternatives of tracing pens and pencils don't work well on felt; tissue paper works but it's fragile and time consuming to pick out the tissue at the end. But I was encouraged by two of Benzie's guest curators that use it in their projects. Check out Wild Olive's detailed blog post and MmmCrafts enthusiastic endorsement.
Now that I've talked you into using Sticky Fabri-Solvy we can get back to this diy! First trace your design (this is the one I used) onto the stabilizer. I used a black thin point permanent marker. Then stick it on your felt (I used a 9x12" sheet) and threaded my needle with Zucchini DMC floss and got to work using a back stitch!
After you're done stitching soak and rinse your design using warm to lukewarm water. This will dissolve the stabilizer. You don't want to make it too hot -or your felt will start to shrink! Gently pat dry. It will take several hours to dry completely.
While the embroidery dries you can work on the laurel wreath.
1. Take fusible adhesive and attach to your felt. We chose the color Zucchini.
2. This photo is a bit muted to see -but this is the die cut plate for the wreath. Run your felt through your diecut machine 2-3 times. I explain more about the Evolution die cut machine over here.
4. You can see the felt after it's been cut, fusible adhesive side up. It's rather delicate -but you'll get a clean cut.
3. Your perfectly cut wreath ready to adhere to your hoop! Isn't that any easy way to add detail to a hoop design?
Carefully arrange the laurel wreath on either side of 'thankful'. Use your embroidery hoop as a guide. Iron the applique on, center hoop on design and finish back. You've mastered hoop art and learned some new skills right? Happy stitching and more importantly, happy thanksgiving!


