Monday, February 16, 2015

Happy 5 years!!!

Update -Benzie is now blogging over at Benzie Design - don't miss any of our new tutorials or news!

Banner made by Benzie customer Little Skunk Co.
It all started with a monster made with felt. A stuffed, red monster made for my son, it had a pocket on it that held a little love note from Mom. But something happened to that most loved critter... It started to pill and fuzz. A lot.

This failed craft started the journey to find a better felt -something that was made to last, crafted well but still affordable -and our shop Benzie Design was opened on Etsy in February of 2010.


We've been offering wool blend felt for 5 years and what a fun adventure it has been! We started out with 59 colors in just the 9x12" and 12x18" size but in just a few months we moved up to 70 colors. At this point I was processing all orders on the small cover of my ironing board! By the end of the year we found a demand for yardage and started offering all 70 colors by the yard -and I got a bigger work table too!


Around our 1 year anniversary we started offering 6x9" sheets -we were the first of felt internet shops to offer this size; we found that these sheets were perfect for sampling colors, small projects -and were a great fit for those using manual die cutters too! Our Etsy peers quickly followed suit and also offer this convenient size as well.


We coined the phrase "felt-fetti" in 2011 -bringing oversized felt confetti to party planners in our handmade shop and felt die cuts to crafters in our felt & supply shop. Our handmade shop also includes our "felt like a party" line of garlands and mobiles!


In 2013 we introduced DMC embroidery floss to coordinate with our felt colors -we find this to be immensely helpful and convenient to our stitchers and color enthusiasts -and as always a crafters favorite. We also started working with Lifestyle Crafts / We R Memory Keepers to bring you tutorials that combine Benzie's felt with fabulous scrapbooking supplies.

Over the past 5 years we developed our photography style -going from a rustic wood background to a crisp linen one. We continued to add more colors (to our current 90) and more color pallets and love discovering pattern designers to collaborate with. We continue to find more efficient ways to ship and organize our inventory -based on sales we have become Etsy's larges wool blend felt supplier. We have appeared on numerous blogs including Babble and Apartment Therapy along with appearances in HGTV magazine and Pregnancy & Newborn magazine. Benzie has grown along with my family -it started out with my husband and two small children and have now included our sweet foster child. Balancing family and business has been tricky -I first hired a mothers-helper and then moved on to hiring two employees to oversee packaging and orders. You may have said 'hi' when they answer your questions.


Just this past year we introduced felt pom poms in 4 different sizes and 34 colors. We also worked closely with a manufacture to introduce two new colors of wool blend felt -exclusive to Benzie. Meanwhile our handmade shop on Etsy grew to 400 sales and our supply shop just landmarked 20,000 sales!


These past 5 years have been a wonderful adventure for Benzie and we have some fun one year goals and some even bigger five year goals. I can't wait to introduce you to one of them this summer! Keep updated with our social media and shop outlets below -we want to get to know you more!

Follow us here:
Handmade shop: www.benzie.etsy.com
Felt & Supply shop: www.benziedesign.etsy.com
Facebook: www.facebook.com/benziedesign
Instagram: www.instagram.com/benziedesign
Pinterest: www.pinterest.com/benziedesign

We want to celebrate with you and are offering 10% off our Felt & Supply shop and 20% off our handmade shop using code HAPPY5, expires February 21. Also -comment below to win one of three $20 gift cards -let us know what products or services you would like to Benzie to offer and leave your email so we can get in contact with you if you are one of the winners! And thanks again to all you wonderful crafters out there -you have made my heart so very happy! -Giveaway is now closed & winners have been contacted, thank you!!!


Monday, February 9, 2015

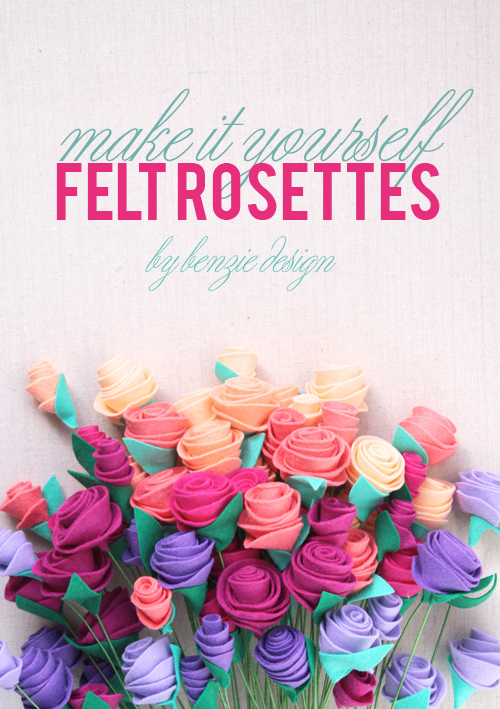
DIY Felt Rosettes


Update -Benzie is now blogging over at Benzie Design - don't miss any of our new tutorials or news!
DIY Felt Rosettes // Benzie

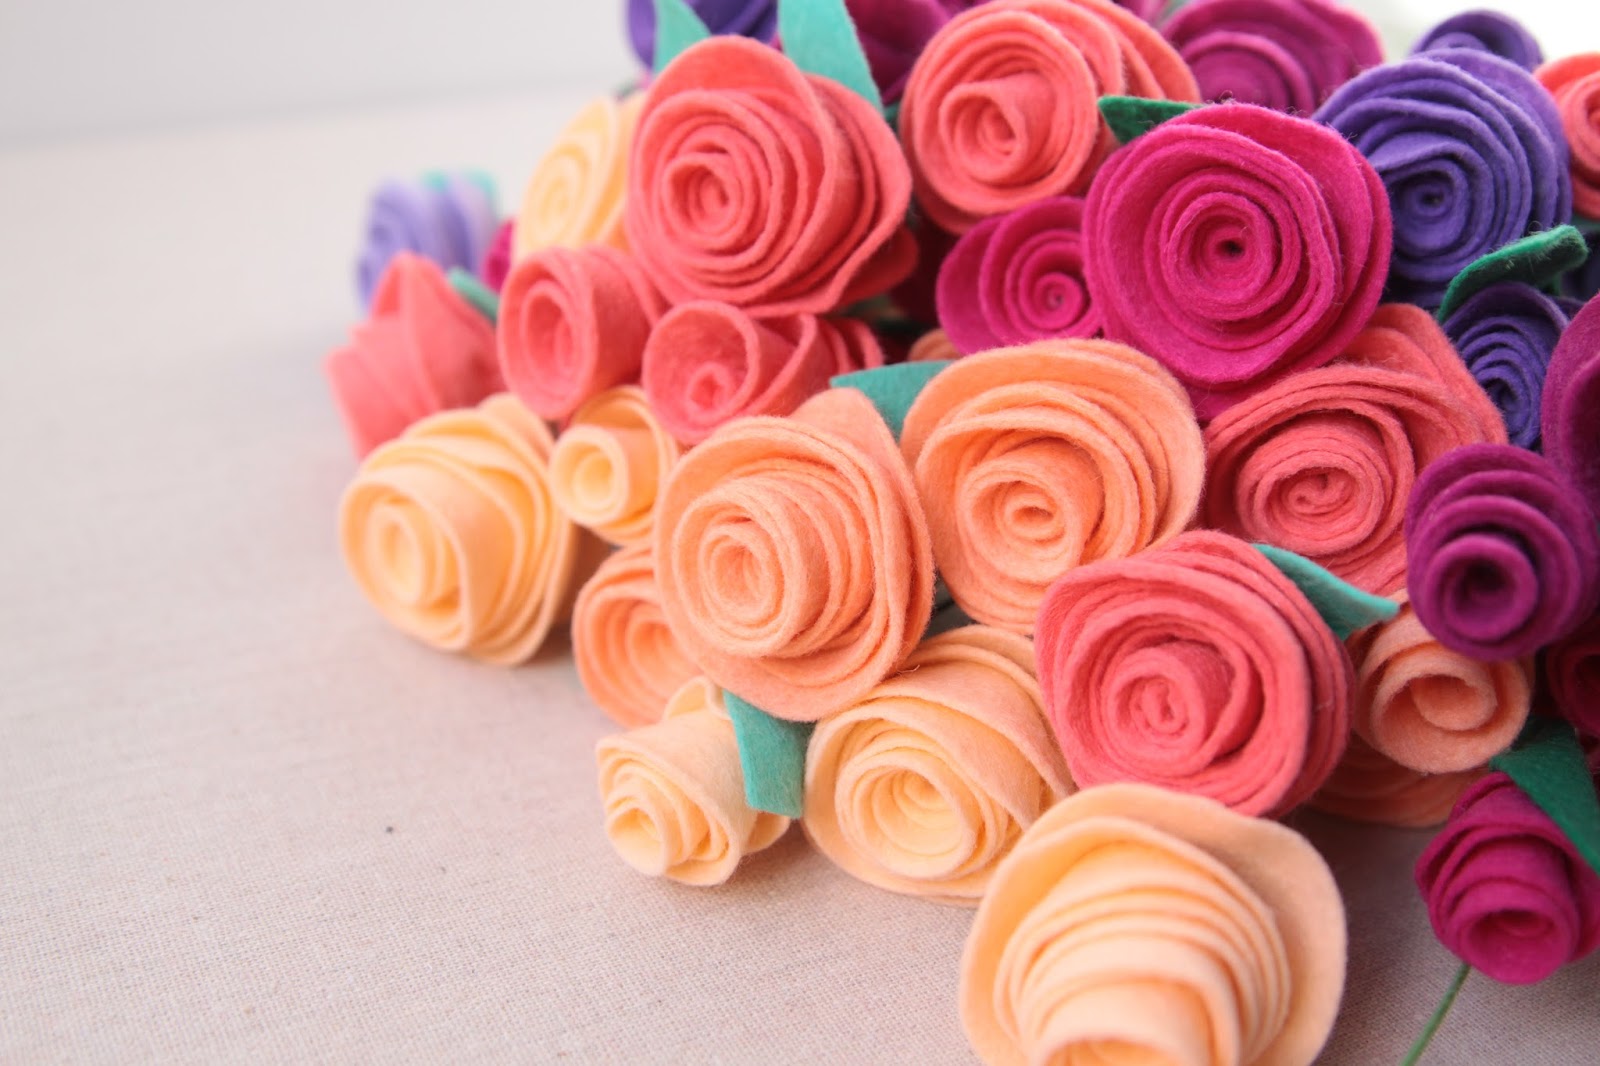
What a better time to make a dozen (or more!) roses for ones you love the most! These flowers are made easy with the use of WRMK Rose die and wool felt by Benzie.

DIY Felt Rosettes // Benzie


DIY Felt Rosettes // Die Cut Template // Benzie


Supplies you will need:
Wool blend felt from Benzie -we use the colors from Carnation Collection
Rose die from WRMK
Leaf die from WRMK
Florist wire
Hot glue gun

Felt Rose DIY // Benzie


First, go crazy die cutting flowers! If you've never die cut before we suggest reading more on using die cut machines over at this blog post. This flower die comes with a white 'ejection foam' -this is helpful when cutting paper -but not so much felt. We suggest removing the white foam to make it easier to cut the felt.

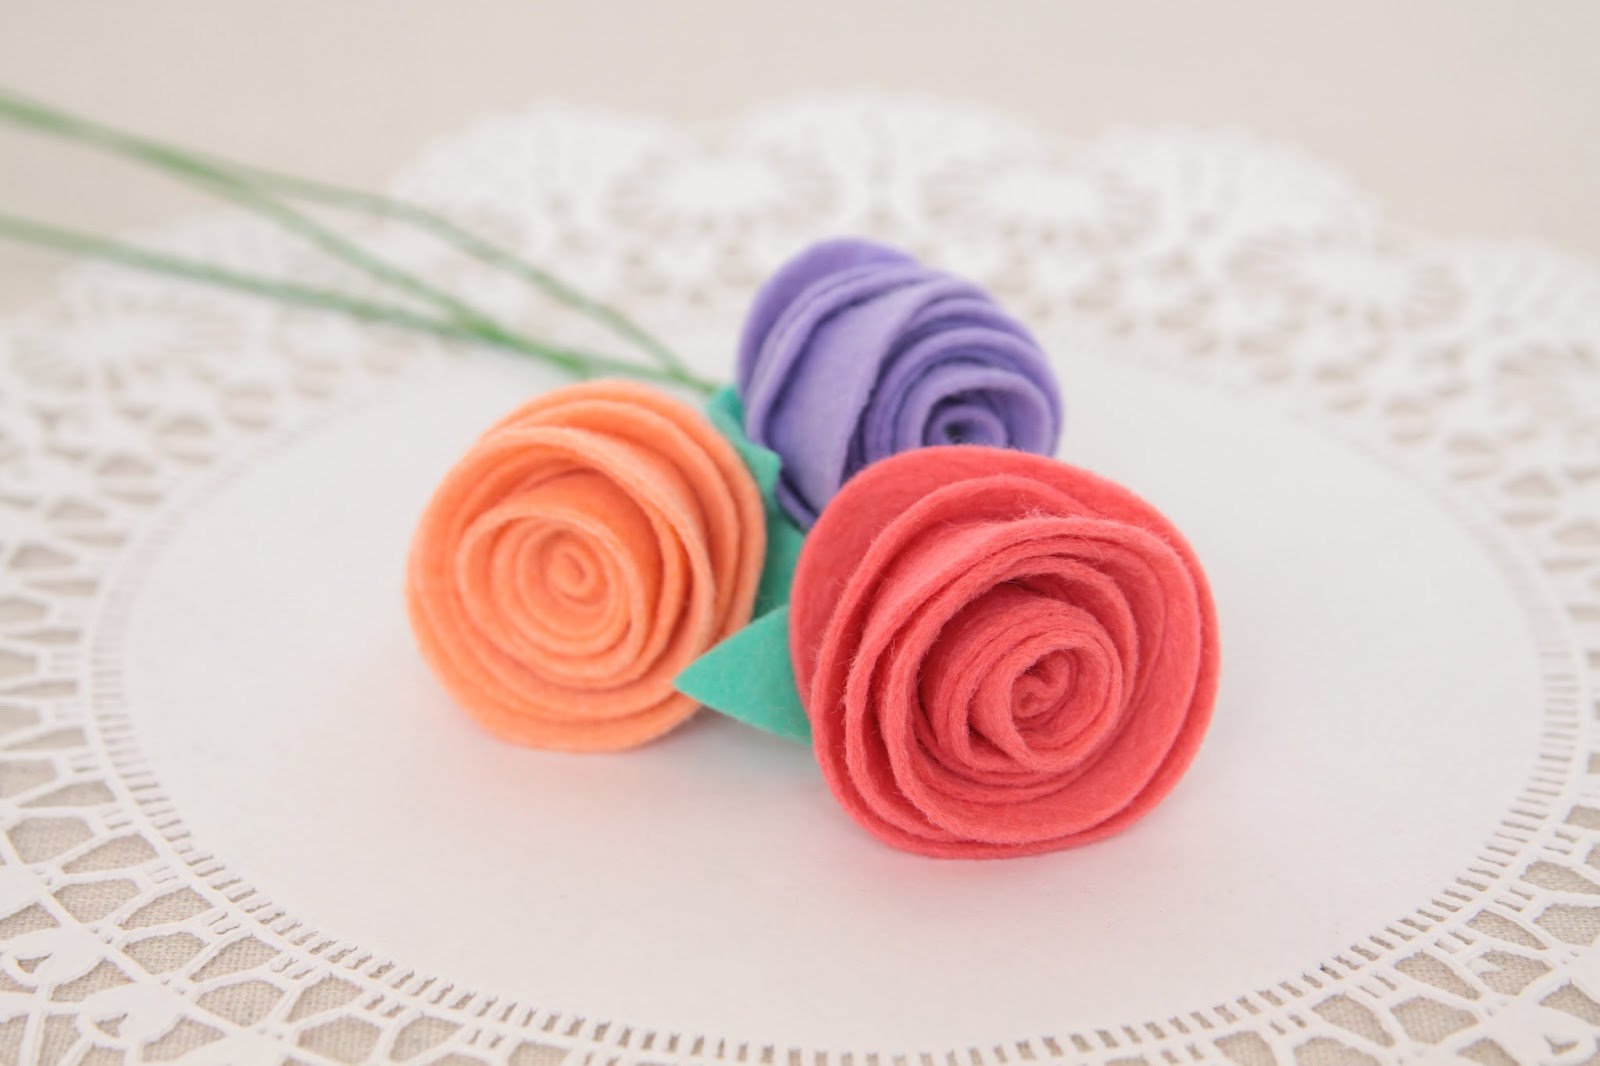
Take the end of the felt spiral and glue around the top of the florist wire. Continue wrapping around the base until you get the desired flower look -secure with glue. I wrapped a green leaf around the base to finish off the flower.

Felt Rose DIY // Benzie

Make a couple dozen more! I love how Coral, Peach and Thistle look here -and then in a bouquet!
Felt Rose Tutorial // Bouquet // Benzie

Felt Bouquet How-to // Benzie
Happy Valentine's day friends!

Thursday, December 4, 2014

Boxwood Wreath in Wool Felt // DIY

Boxwood Wreath from Wool Felt

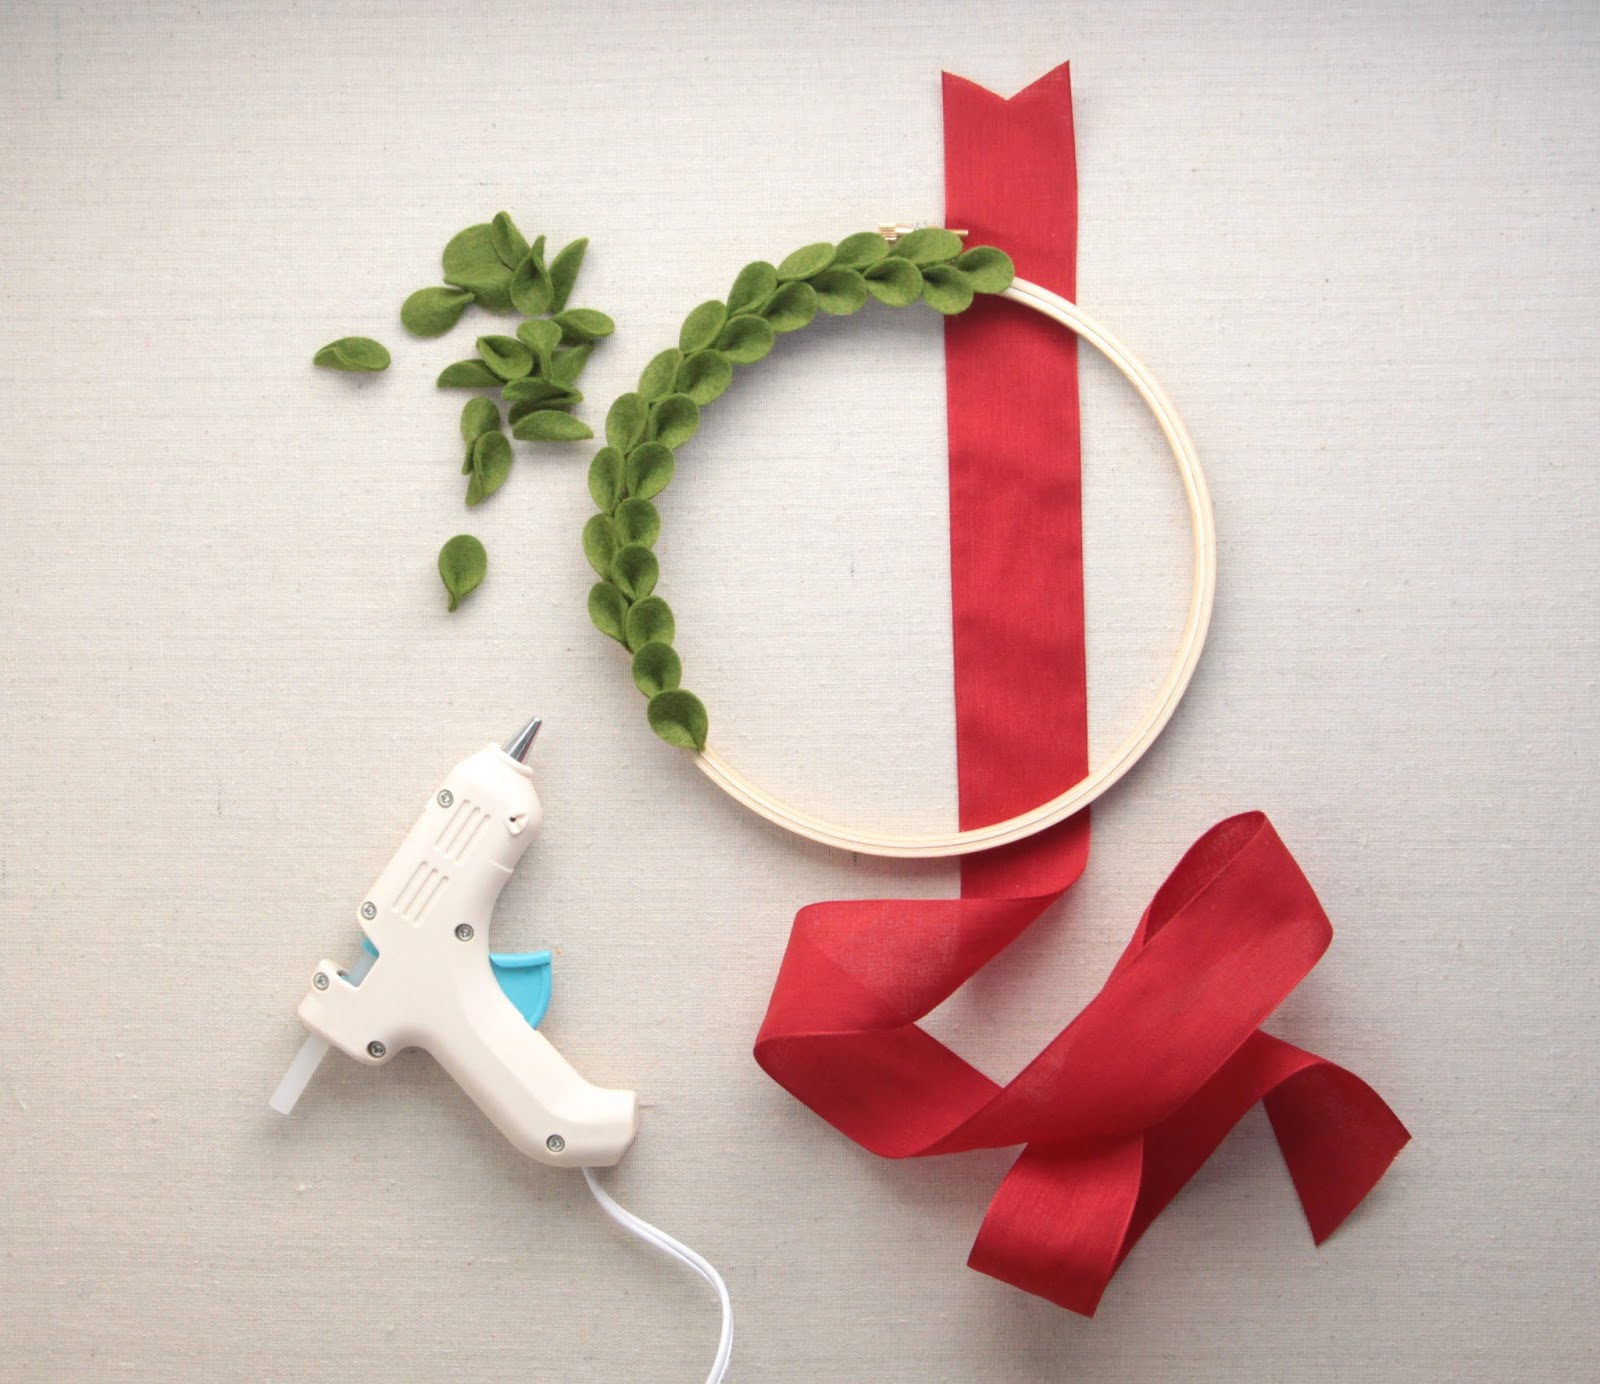
Everyone loves the classic look of boxwood wreaths for the holidays so we interpreted the full and fresh green leaves into a simple and slender felt leaf wreath design -one that won't die out! 
Boxwood Wreath from Wool Felt


Supplies needed:
--Your favorite green felt from Benzie. We used Moss -but Meadow or Zucchini would look great too!
--Embroidery hoops, we used 6", 7" and 8" size
--Oval Punch Die from Lifestyle Crafts, this comes with two sizes of ovals. We used the small size only. You will also need a die-cut machine. We used the Evolution.
--Ribbon, we used 1 1/2" wide linen like ribbon
--Glue gun, other glues work too but we like how fast this glue dries.

Boxwood Wreath from Wool Felt


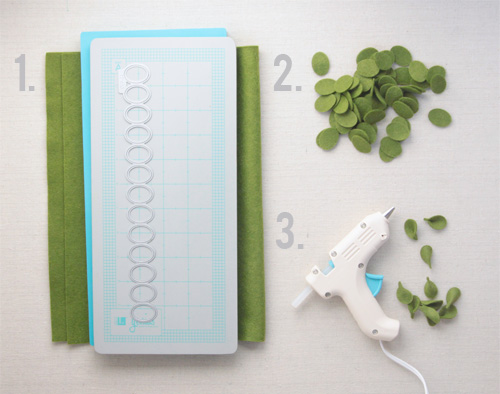
1. This wreath is includes about 100 small felt ovals -to make the process really quick we used a die cut machine with the oval die shown in the photo. We talk more about die cutting here.
2. Now that you have a pile of ovals -you'll need one 12x18" sheet of felt to make one wreath. 
3. Heat up your glue gun and add a dot of glue to the base of your oval and pinch together. This makes your leaf.

DIY Boxwood Wreath // Benzie

The wreath is composed of two rows of leaves, use the inner and outer circle of the embroidery hoop as your guide. One leaf is placed slightly in front of the previous leaf. Each row is staggered. After you're done with the two basic rows -fill in any bald spots with extra leaves. This gives the wreath more of a natural and irregular look.

DIY Boxwood Wreath // Benzie
Finish off with some festive ribbon! The Oval Punch Die is one of my favorites. We used it to make a bouquet of wildflowers and a batch of succulents. It's perfect for forming leaves and petals -you may want this die on your wish list! Merry Christmas!

DIY Boxwood Wreath // Benzie


Thursday, November 13, 2014

DIY Hoop Art


DIY Hoop Art // Benzie Design
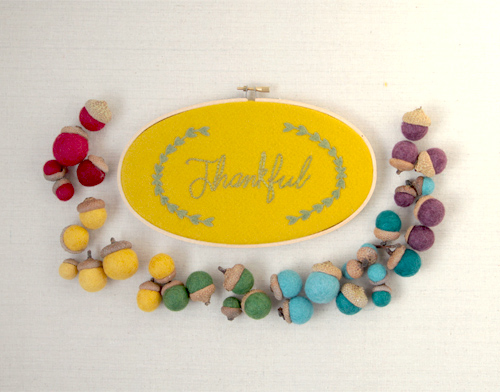
I love how we have a whole holiday centered around being thankful -even though gratitude should not just be expressed one month out of the year. This embroidery hoop -though fall in colors is a good reminder of where our hearts need to be rooted all year. You'll also love this diy -it's full of tips that will really help a beginner embroider -in fact I've made several more since I learned the secret to transferring patterns to felt! You'll also learn how to add the laurel leaf applique -it's all about the finishing touches, right?!

DIY Hoop Art // Benzie Design // WRMK

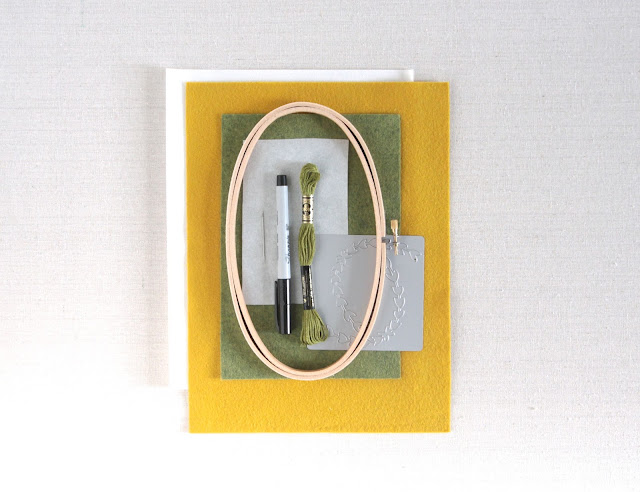
Items you'll need:
-- Wool Blend felt by Benzie, we used the colors Mustard and Zucchini.
-- Large Oval Embroidery hoop
-- Embroidery floss, we used Zucchini
-- Wreath Frame Die Cut by WRMK
-- Fusible adhesive, our favorite is Wonder Under
-- Fabric stabilizer, we used Sticky Fabri-Solvy
-- Pen or Marker
-- Embroidery Needle
-- Iron (not shown)

Embroidery // Sulky Fabri Solvy // Benzie Design


We tried a brand new product this month called Sticky Fabri-Solvy -and it couldn't be more perfect for transferring patterns onto felt! It's 'sticky' meaning that after you trace (printable sheets are available too!) peel off the back like a giant sticker and press onto your felt. SO easy and quick! But there was one caveat holding me back -the stabilizer has to be soaked and rinsed off! It made me super uncomfortable getting my project wet -and I didn't like the idea of having to wait for the embroidery to dry. But the alternatives of tracing pens and pencils don't work well on felt; tissue paper works but it's fragile and time consuming to pick out the tissue at the end. But I was encouraged by two of Benzie's guest curators that use it in their projects. Check out Wild Olive's detailed blog post and MmmCrafts enthusiastic endorsement

Now that I've talked you into using Sticky Fabri-Solvy we can get back to this diy! First trace your design (this is the one I used) onto the stabilizer. I used a black thin point permanent marker. Then stick it on your felt (I used a 9x12" sheet) and threaded my needle with Zucchini DMC floss and got to work using a back stitch!

Embroidery // Sulky Fabri Solvy // Benzie Design


After you're done stitching soak and rinse your design using warm to lukewarm water. This will dissolve the stabilizer. You don't want to make it too hot -or your felt will start to shrink! Gently pat dry. It will take several hours to dry completely.

Die Cuts & Felt // Hoop Art // We R Memory Keepers

While the embroidery dries you can work on the laurel wreath.
1. Take fusible adhesive and attach to your felt. We chose the color Zucchini.
2. This photo is a bit muted to see -but this is the die cut plate for the wreath. Run your felt through your diecut machine 2-3 times. I explain more about the Evolution die cut machine over here.
4. You can see the felt after it's been cut,  fusible adhesive side up. It's rather delicate -but you'll get a clean cut.
3. Your perfectly cut wreath ready to adhere to your hoop! Isn't that any easy way to add detail to a hoop design?

DIY Hoop Art // Embroidery // Benzie Design

Carefully arrange the laurel wreath on either side of 'thankful'. Use your embroidery hoop as a guide. Iron the applique on, center hoop on design and finish back. You've mastered hoop art and learned some new skills right? Happy stitching and more importantly, happy thanksgiving!

DIY Hoop Art // Embroidery // Benzie Design


Tuesday, October 28, 2014

Guest Curator: Squishy Cute

Woodland Animal Patterns // Squishy Cute // Benzie
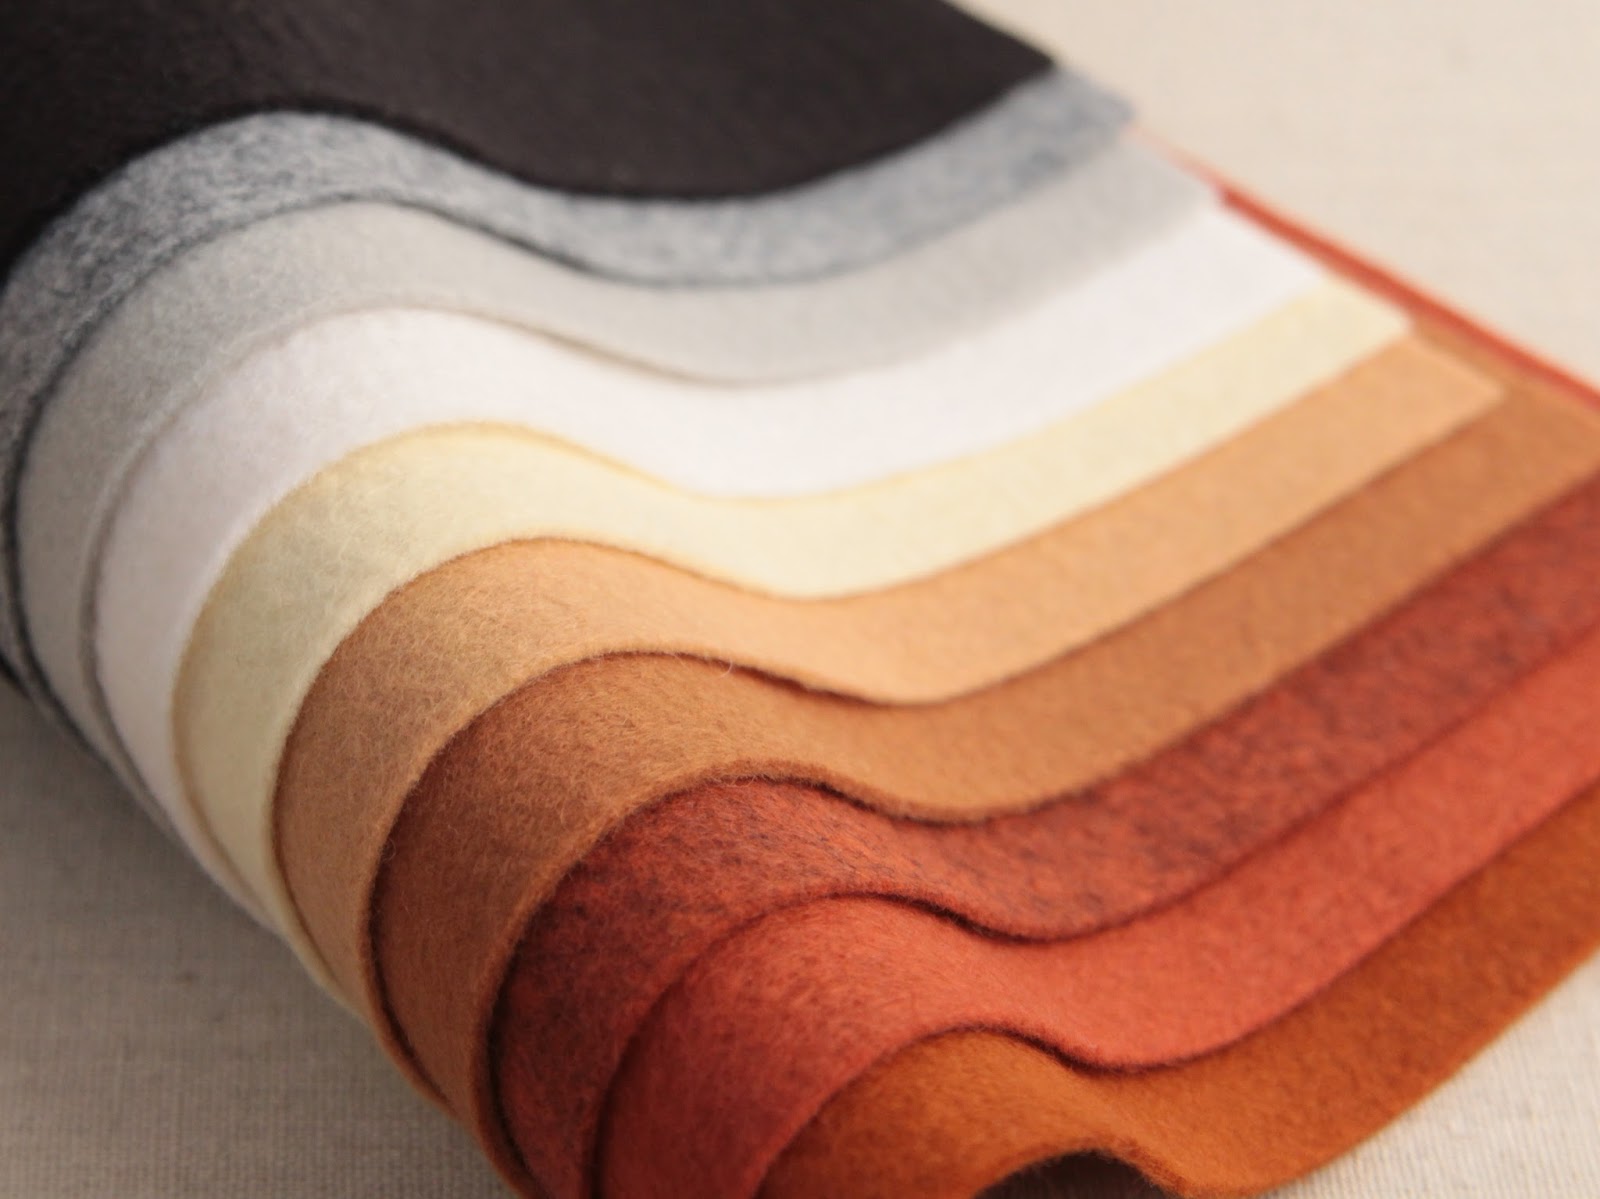
We want to welcome Squishy Cute Designs to our curated collection team at Benzie -and our first mother and daughter team too! Kelli and Greta, are the creators behind, well, squishy and cute animal and doll patterns! One of my favorite collections is the Woodland Animals. Kelli put together a collection that works with the Raccoon, Barn Owl and the Fox -aren't these browns and rusts just beautiful?. I love that the patterns are so easy to put together -but constructed in such a way that makes them look like a more complicated dimensional animal -add in fun felt colors and thoughtfully placed embroidery and you have made yourself and little forest friend!  Check out Squishy Cute's web site for their pattern shop, blog and tutorials ... and right now a giveaway for Benzie's felt, floss and patterns is going on through this Thursday October 30th -so go visit and enter! Squishy Cute's Felt and Floss collection is available in Benzie's shop.

Woodland Animal Felt Collection // Benzie

Wednesday, October 22, 2014

Hexagon Pom-Pom Coasters

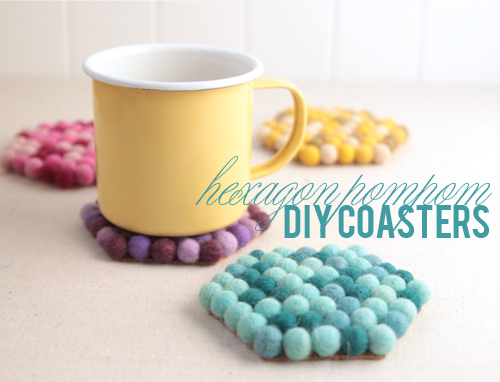
Hexagon Felt Pom Coasters // Benzie Design


Hexagon Trivets // Felt Balls // Benzie Design
We are now blogging over at www.benziedesign.com -don't miss out!

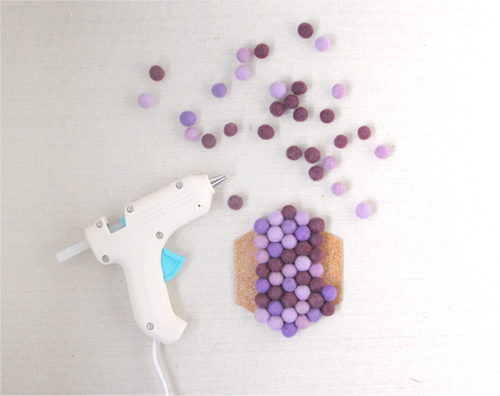
You guys, you've seen felt balls before right?! These amazing little round balls of crafty, felted sweetness? Over at Benzie we prefer to call them pom-poms because they are more then just a ball -it's a felt ball of cheer (or a pom-pom)!! We picked up Benzie's smallest size (1cm) and Lifestyle Crafts thin cork and got to work making ourselves a set of cozy coasters.

Felt Ball Coaster DIY

Here are supplies you will need:
-Benzie's Pom-Poms in 1cm size. We used 61 poms per coaster but suggest getting a few more as some poms run large or smaller then 1cm.
-4x12 Cork Adhesive Sheets from Lifestyle Crafts
-Hexagon Nesting Dies from Lifestyle Crafts
-Glue, our all time favorite is a basic, easy hot glue gun but you can use whatever you have on hand.


Hexagon Die Cuts // Lifestyle Crafts // Benzie Design

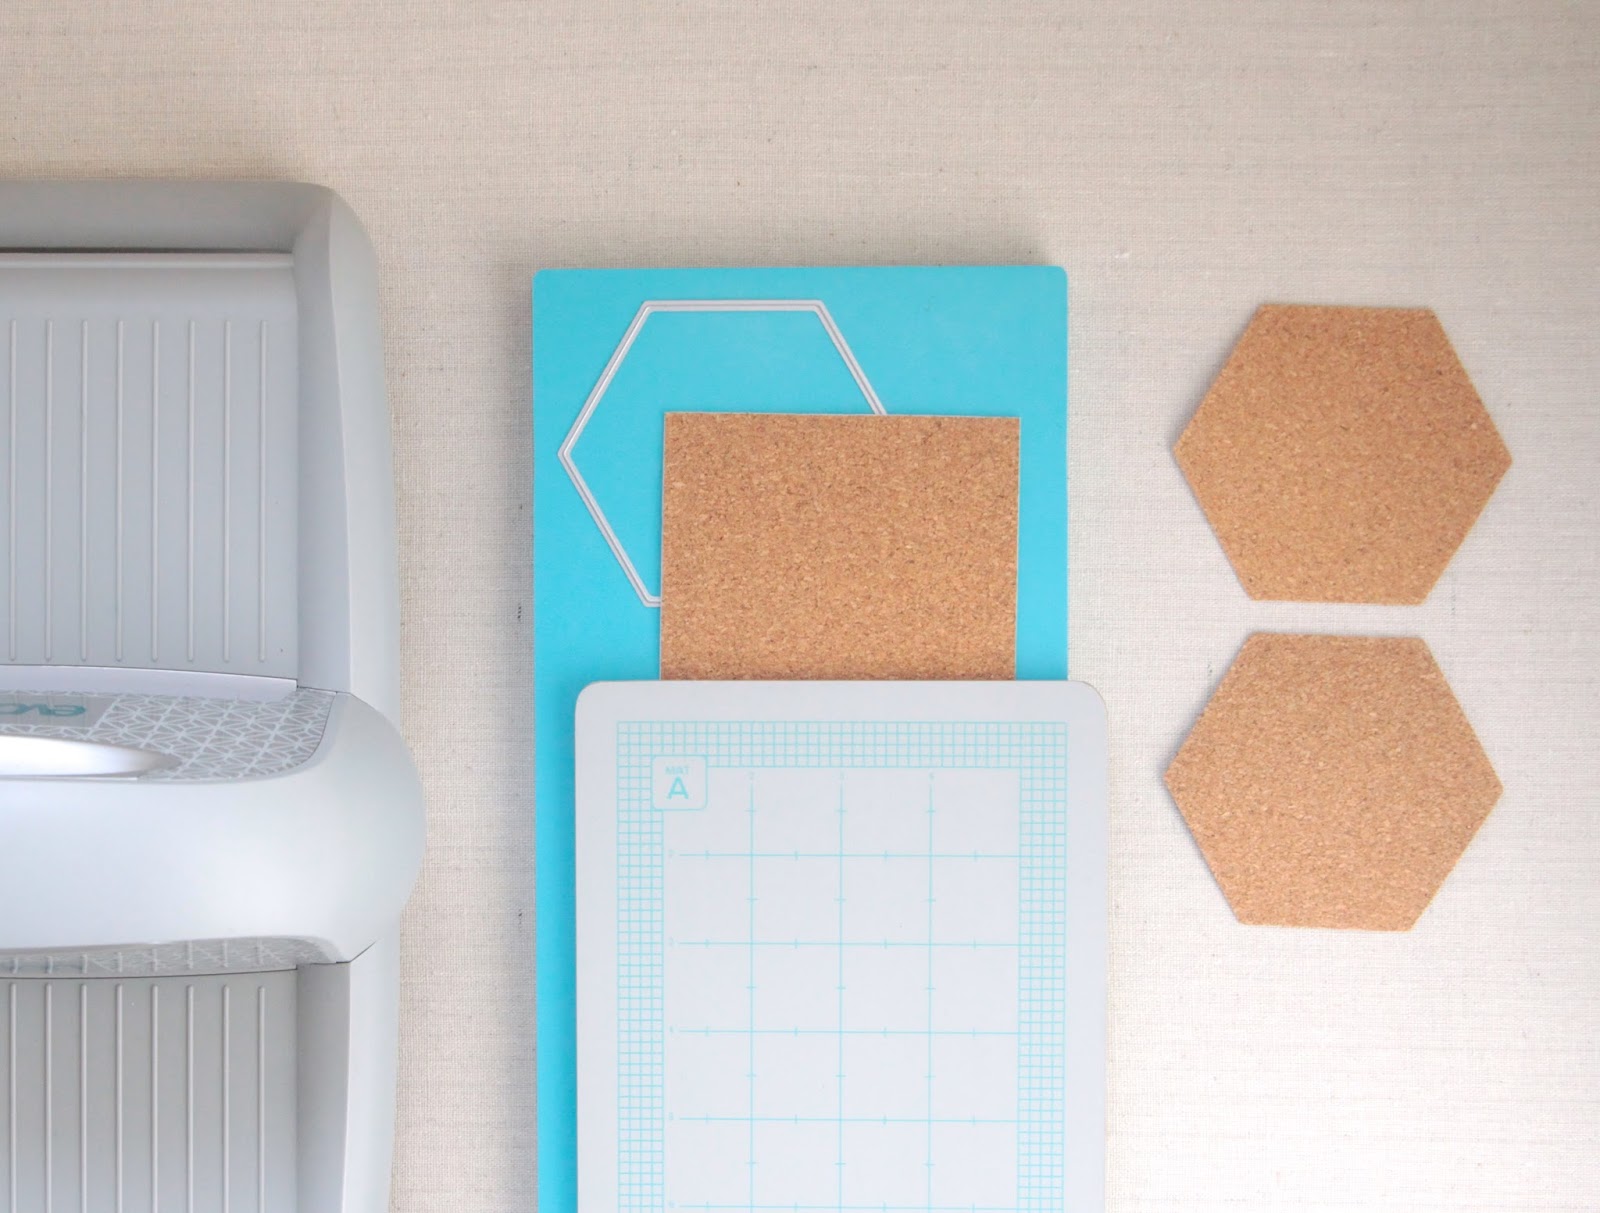
To make the cork base for the coasters you can cut out a basic hexagon shape with a scissors -but I like using dies cuts makes the process easier and more precise. The nesting dies from Lifestyle Crafts always offer a variety of sizes -but we chose the one with the 1 7/8th sides as a perfect mug size and fit for 1cm poms. But try the largest die and make a trivet too! We used the Evolution Die Cut Machine with our die and cork lined up on the Genius Platform. Cut out two hexagons.

Felt Pom Pom Coasters // Benzie Design

The cork is backed with adhesive -so you have 2 really large stickers. To provide your coaster with a base -you'll want to attach them together -one right on top of the other. Then peel the second hexagon sticker off the top -this sticky side is what you can start placing your poms on. I found that the adhesive really aided me when placing the poms -this will help if you decide to make a pattern or try a different size pom (they won't roll all over!). I started in the middle of the hexagon by placing 9 poms down the center with hot glue. It comes together quickly when making one long strip of glue down the middle and lining up poms one after another.

Felt Ball Coasters Tutorial // Benzie Design

Try different color combos or try making a large one for a trivet! Make this project and tag #benziefelt -I want to see what you're making!

Hexagon Felt Coasters // Benzie Design


Tuesday, September 30, 2014

Mermaid Tail DIY

Read more on the updated diy here!

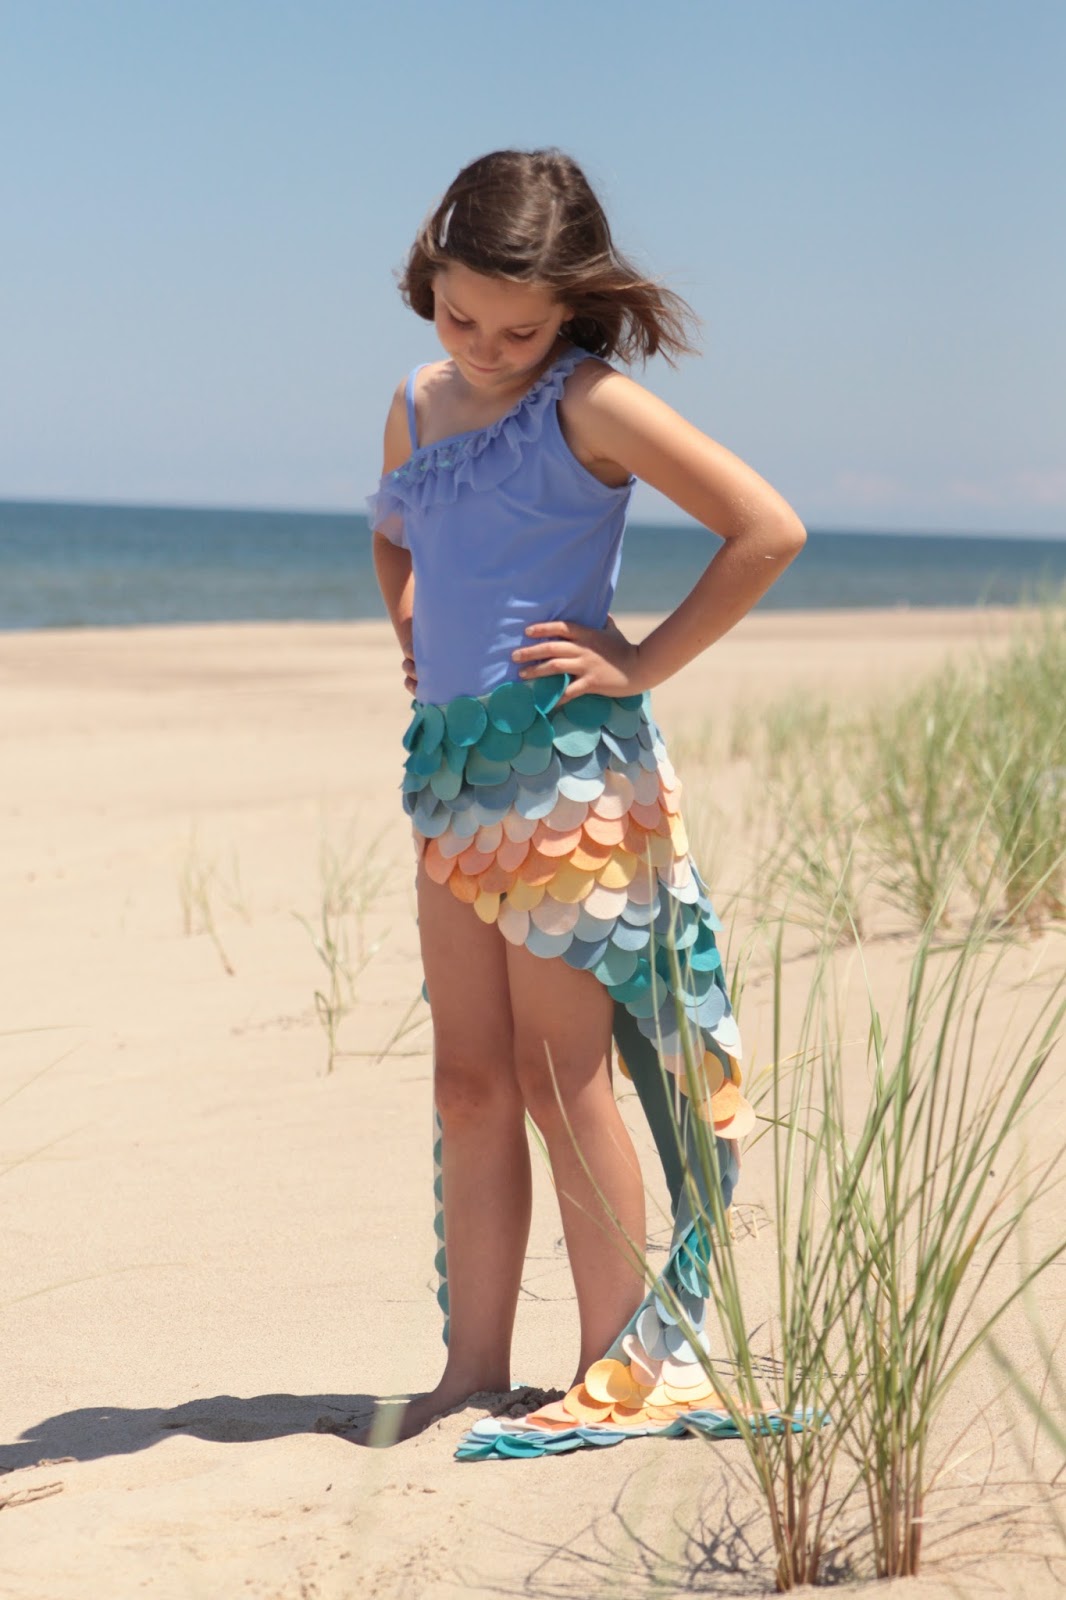
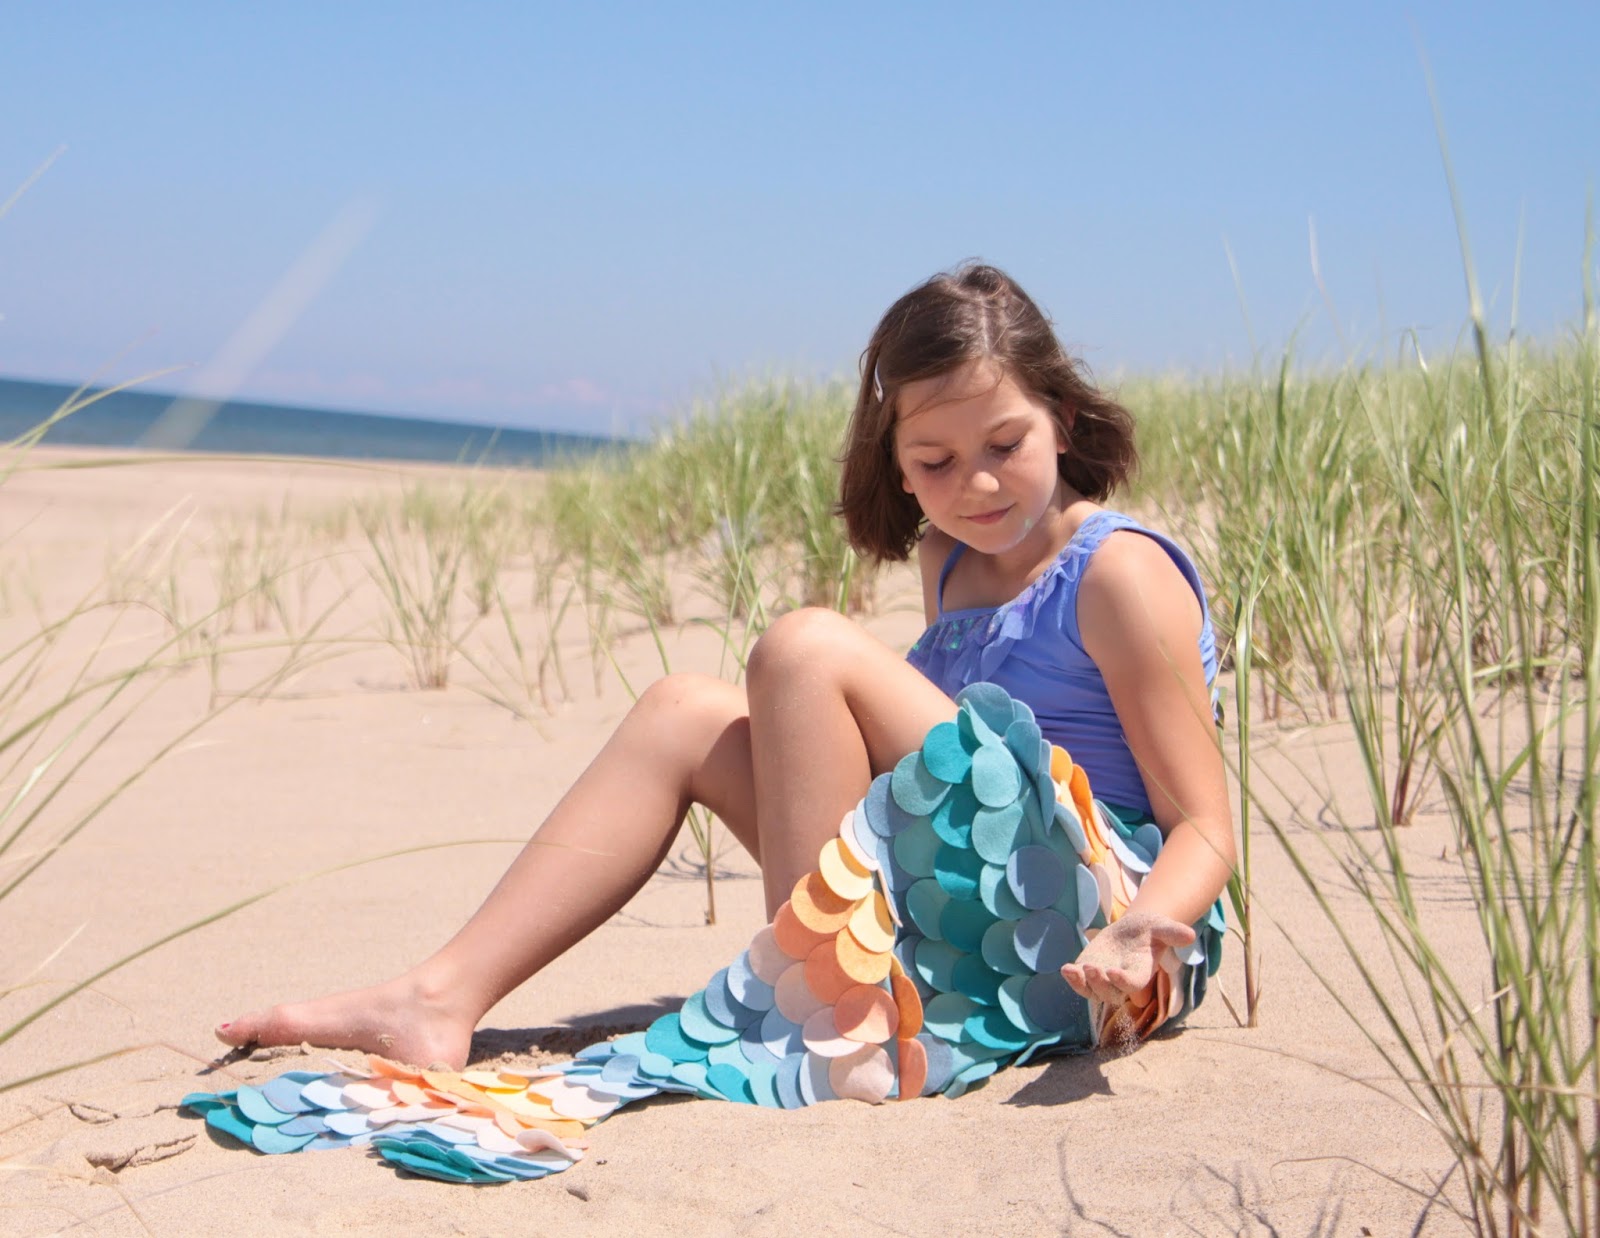
I just got my daughter a shirt that read "I'm a mermaid at heart" -and it true -all she ever has wanted to be is a mermaid. And she insists she will grow up to be one. I'm not sure we can promise that -but I can indulge her imagination and creative spirit and create a mermaid's greatest accessory -her tail!

Mermaid Tail Costume
The tail is composed of circles -or scales attached to the base. It comes together very quickly once all the circles are cut! Our tail and measurements are based on a tall 7 year old -you can adjust the measurements to the height of your little mermaid. 

Mermaid Felt // Benzie
Materials used:
-1 1/2 yards of a basic cotton fabric (we wanted to keep the tail light weight) but if you want to go no-sew we suggest using 1 1/2 yards of felt.
-10 12x18" sheets of Benzie Felt. We used our Mermaid Lagoon collection. 
-Sewing machine 
-Approximately 275 2" circles (we used the Nesting Circle die from We R Memory Keepers)
-2 yards of twill tape or ribbon 
-fabric glue
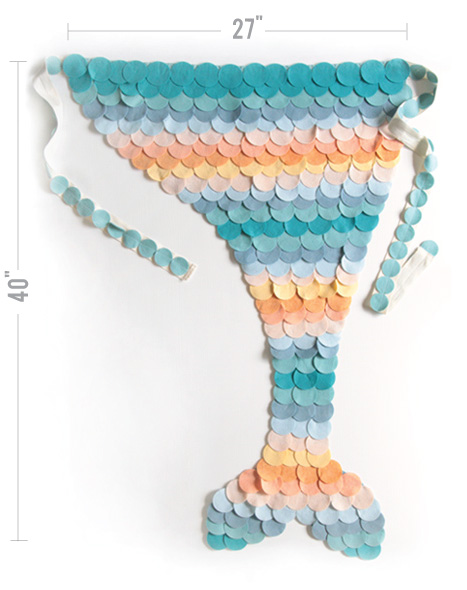
Mermaid Tail Pattern // Benzie
First you will need to make the base of the tail. Take your fabric and lightly freehand a pattern similar to the one you see above. The waist is about 27" wide and the length is 40" long. You will notice that the tail is asymmetrical -I wanted it to wrap around the waist and tie at the side to give the illusion of a more full bodied tail. If you are using felt -you are done -just cut out the shape! For cotton -we cut out two pieces, sewed both sides together and flipped inside out to hide the raw edges. Iron flat.

After you have the base of the tail you will need to sew ribbons on for ties. You can do this with a sewing machine or by hand. We suggest sewing as opposed to glue to make it a strong hold.

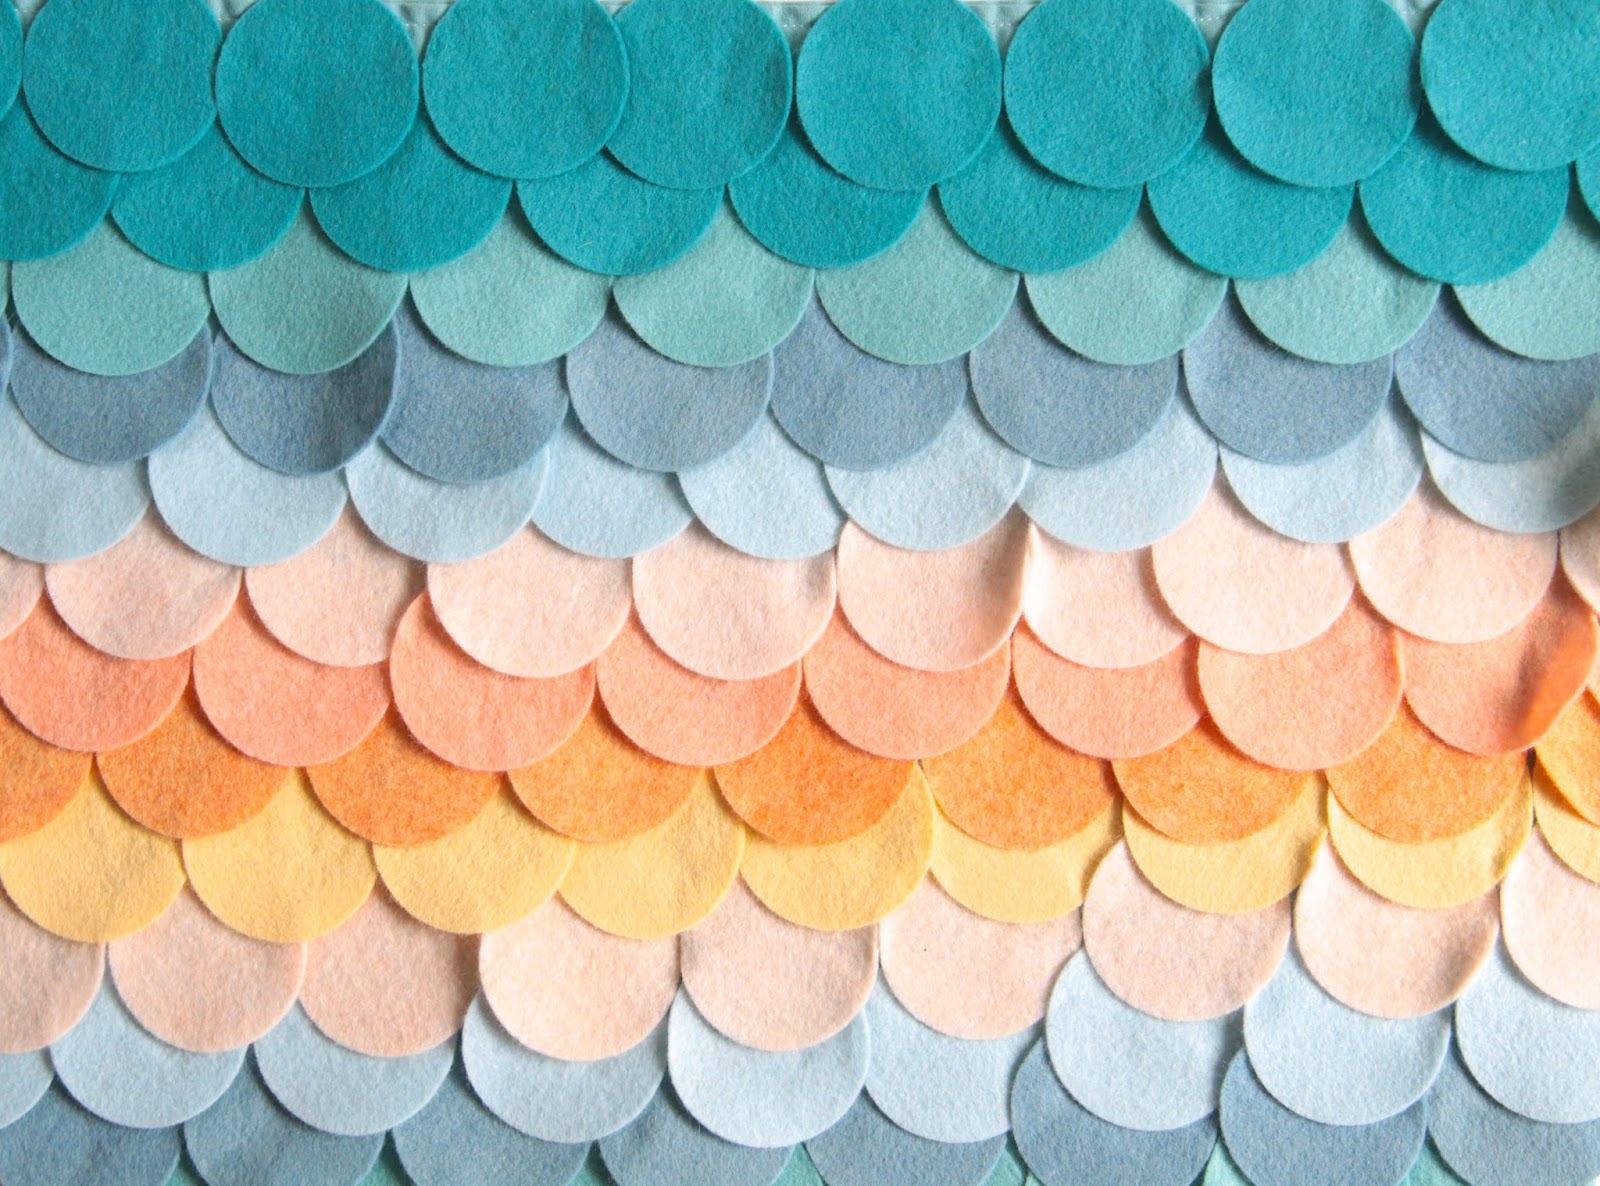
Mermaid Scales // Felt // Benzie


Now for all those circles! We have several different options to cut out these circles -from using a scissors, purchasing precut circles from Benzie or using a die cut method. We are going to focus on the Nesting Circles die from We R Memory Keepers -there are several different sized circles in this kit -but we used the 2" size. Here is an explanation of how we use the Evolution manual die cutter. To cut out the circles a bit quicker, we used two 2" dies at the same time. I love how the die cut makes them a perfect circle each and every time. And it's a great way to get your child involved in making their very own costume!

After you have cut out your circles attach them to your tail base. You can sew these on -but I love having easy projects that I can do around the rest of the family -so we used fabric glue. Start on the bottom of the tail and attach circles by placing a bit of glue (it doesn't take much) along the top 1/4" of the circle. Go row by row, attaching circles about half way up from the previous row. As you can see with the above photo we spaced somewhat randomly as we accommodated the widening tail.

Mermaid Costume // Benzie
Mermaid Tail DIY // Benzie


Tie the ribbon to the mermaids side -a costume perfect for the little fish in your life!


09 10 11 12
Blogging tips